MOVIE POSTER
The Process
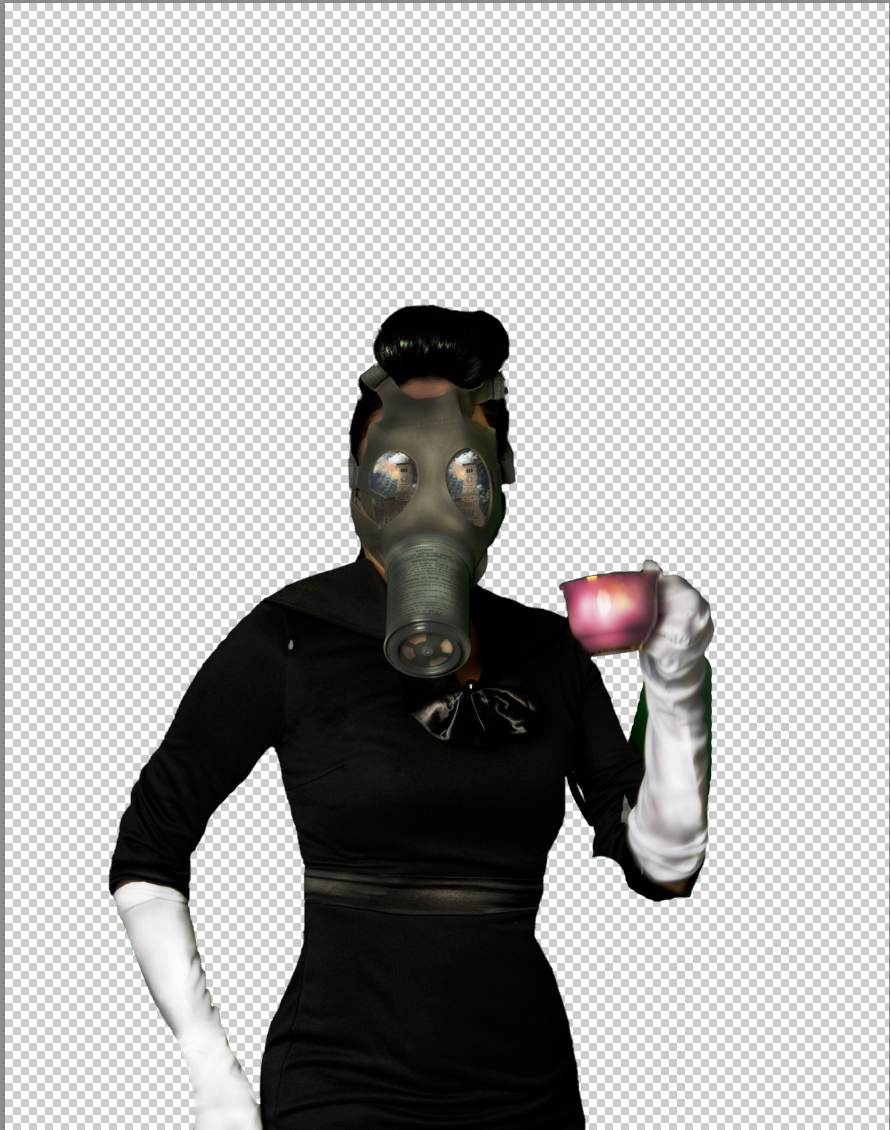
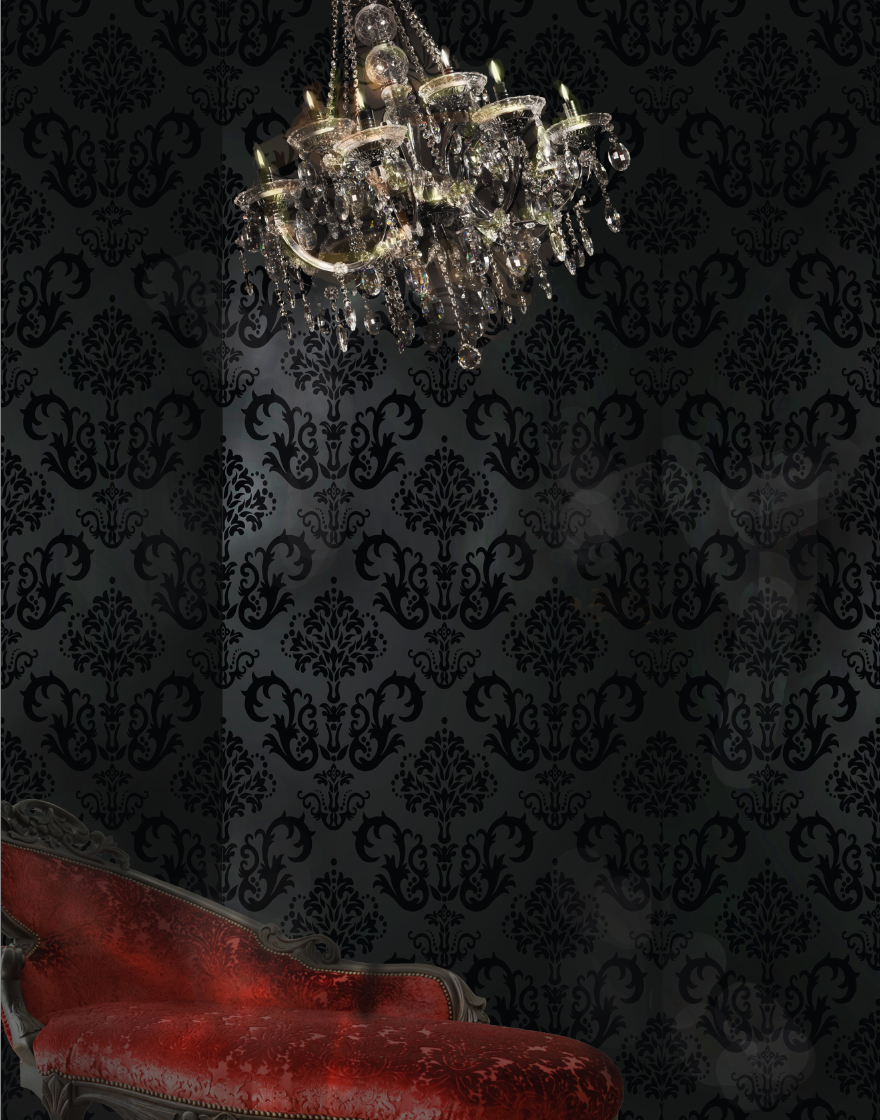
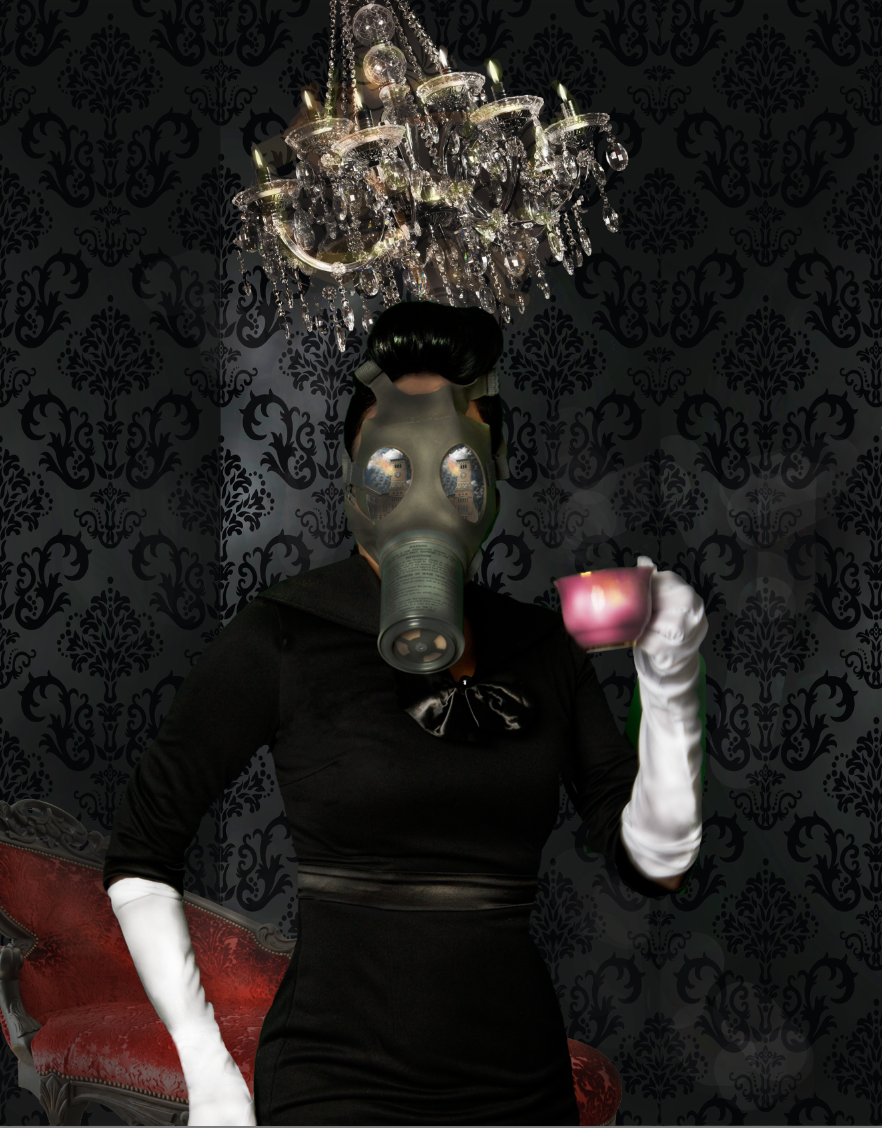
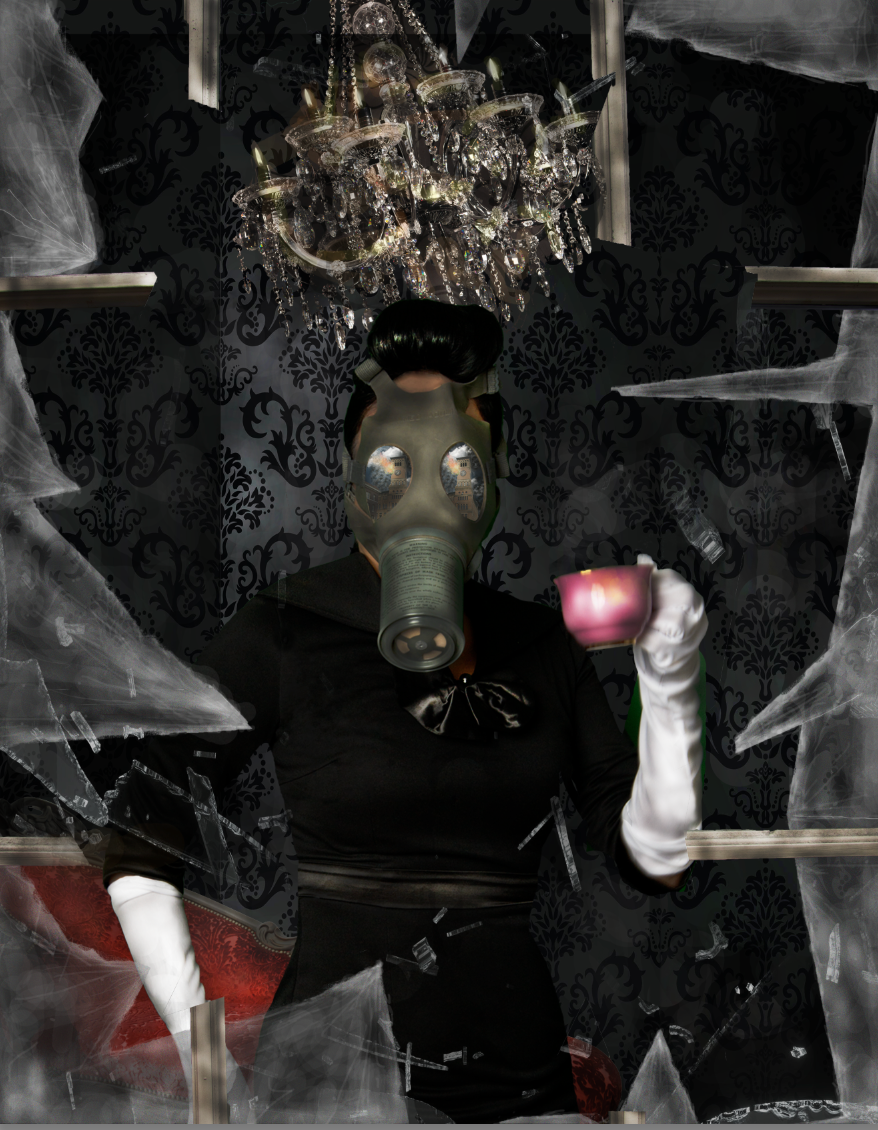
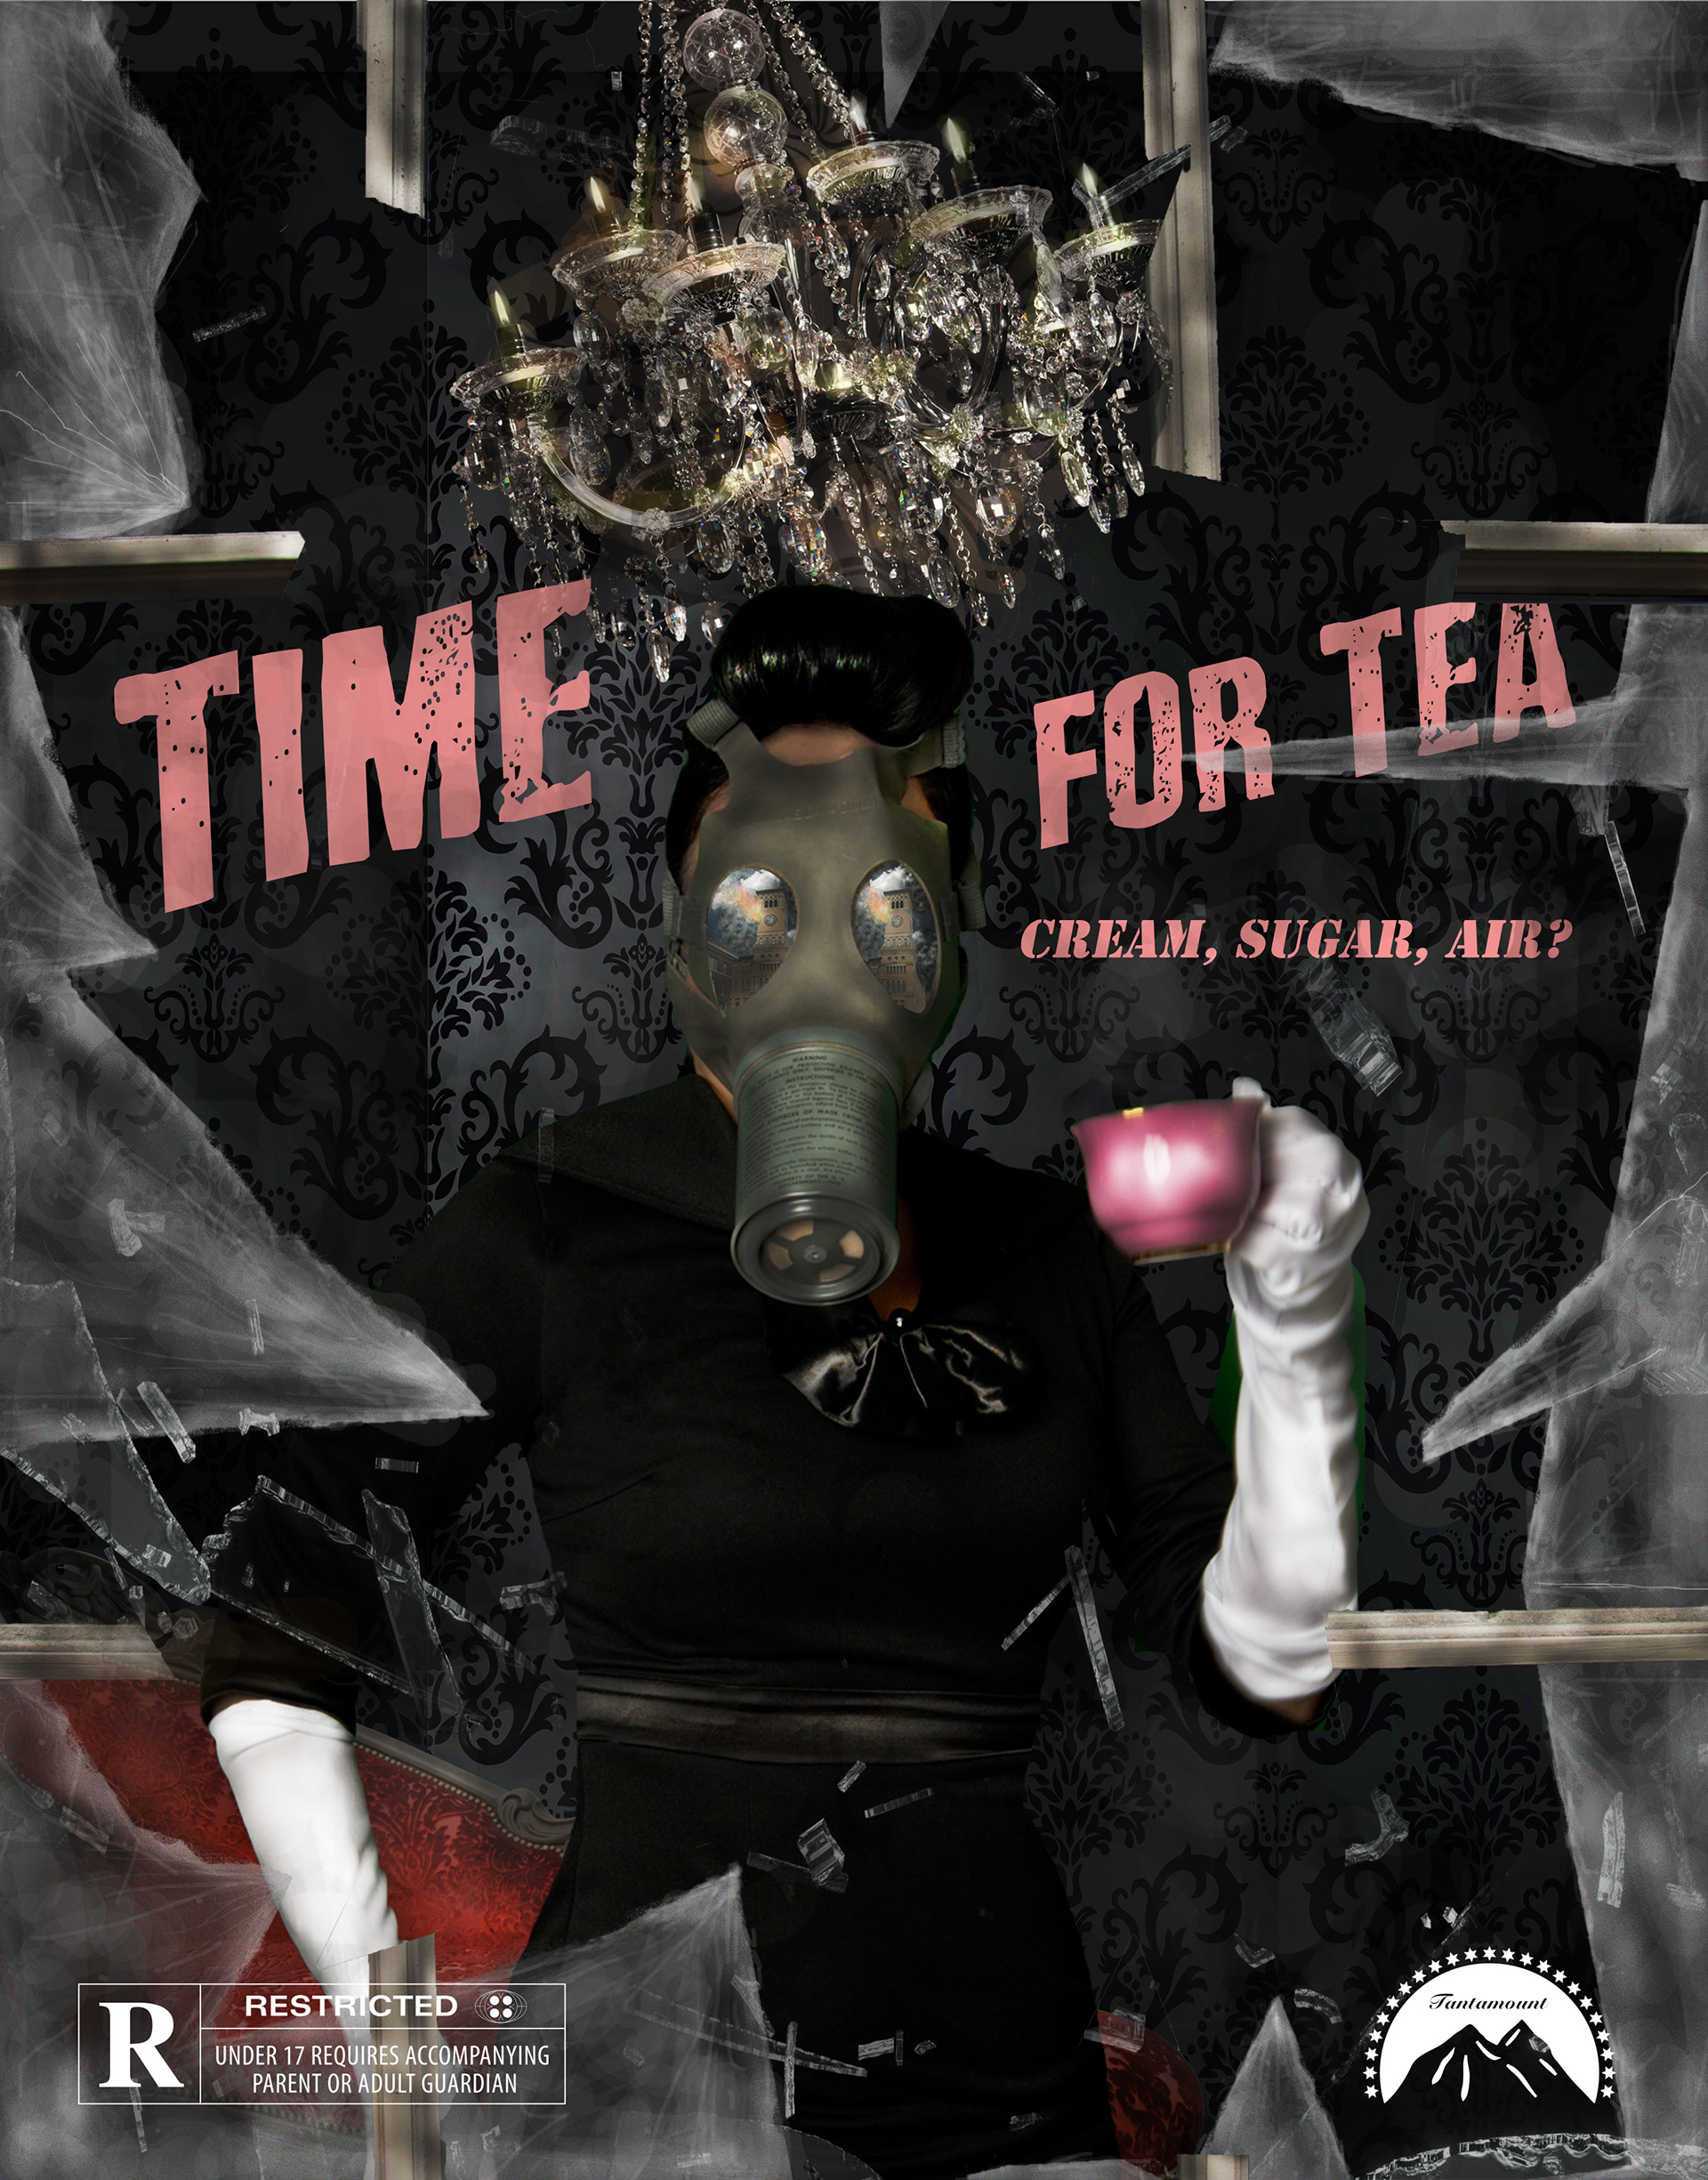
I gathered various images to recreate a room scene. Using my Nikon D600 with a 50mm lens, I photographed a building and a storefront window. I also sourced stock images of a chandelier, flying glass, and a couch. Using Photoshop CC, I composited these images together. I photographed the model against a green screen, employing masks and channels to extract her seamlessly and blend her into the newly created background.
To add depth, I utilized one section of wallpaper to construct a three-dimensional wall using perspective and wrap tools. Some of my favorite Photoshop tools, such as the mask, stamp, pen, dodge, and burn tools, played a significant role in this project.
The Eyes
I used the pen tool to remove the original mask eyes. I placed a second image within the pen tool outline. I adjusted the positioning so they matched. I emphasized the color to make them pop and add excitement to the image.
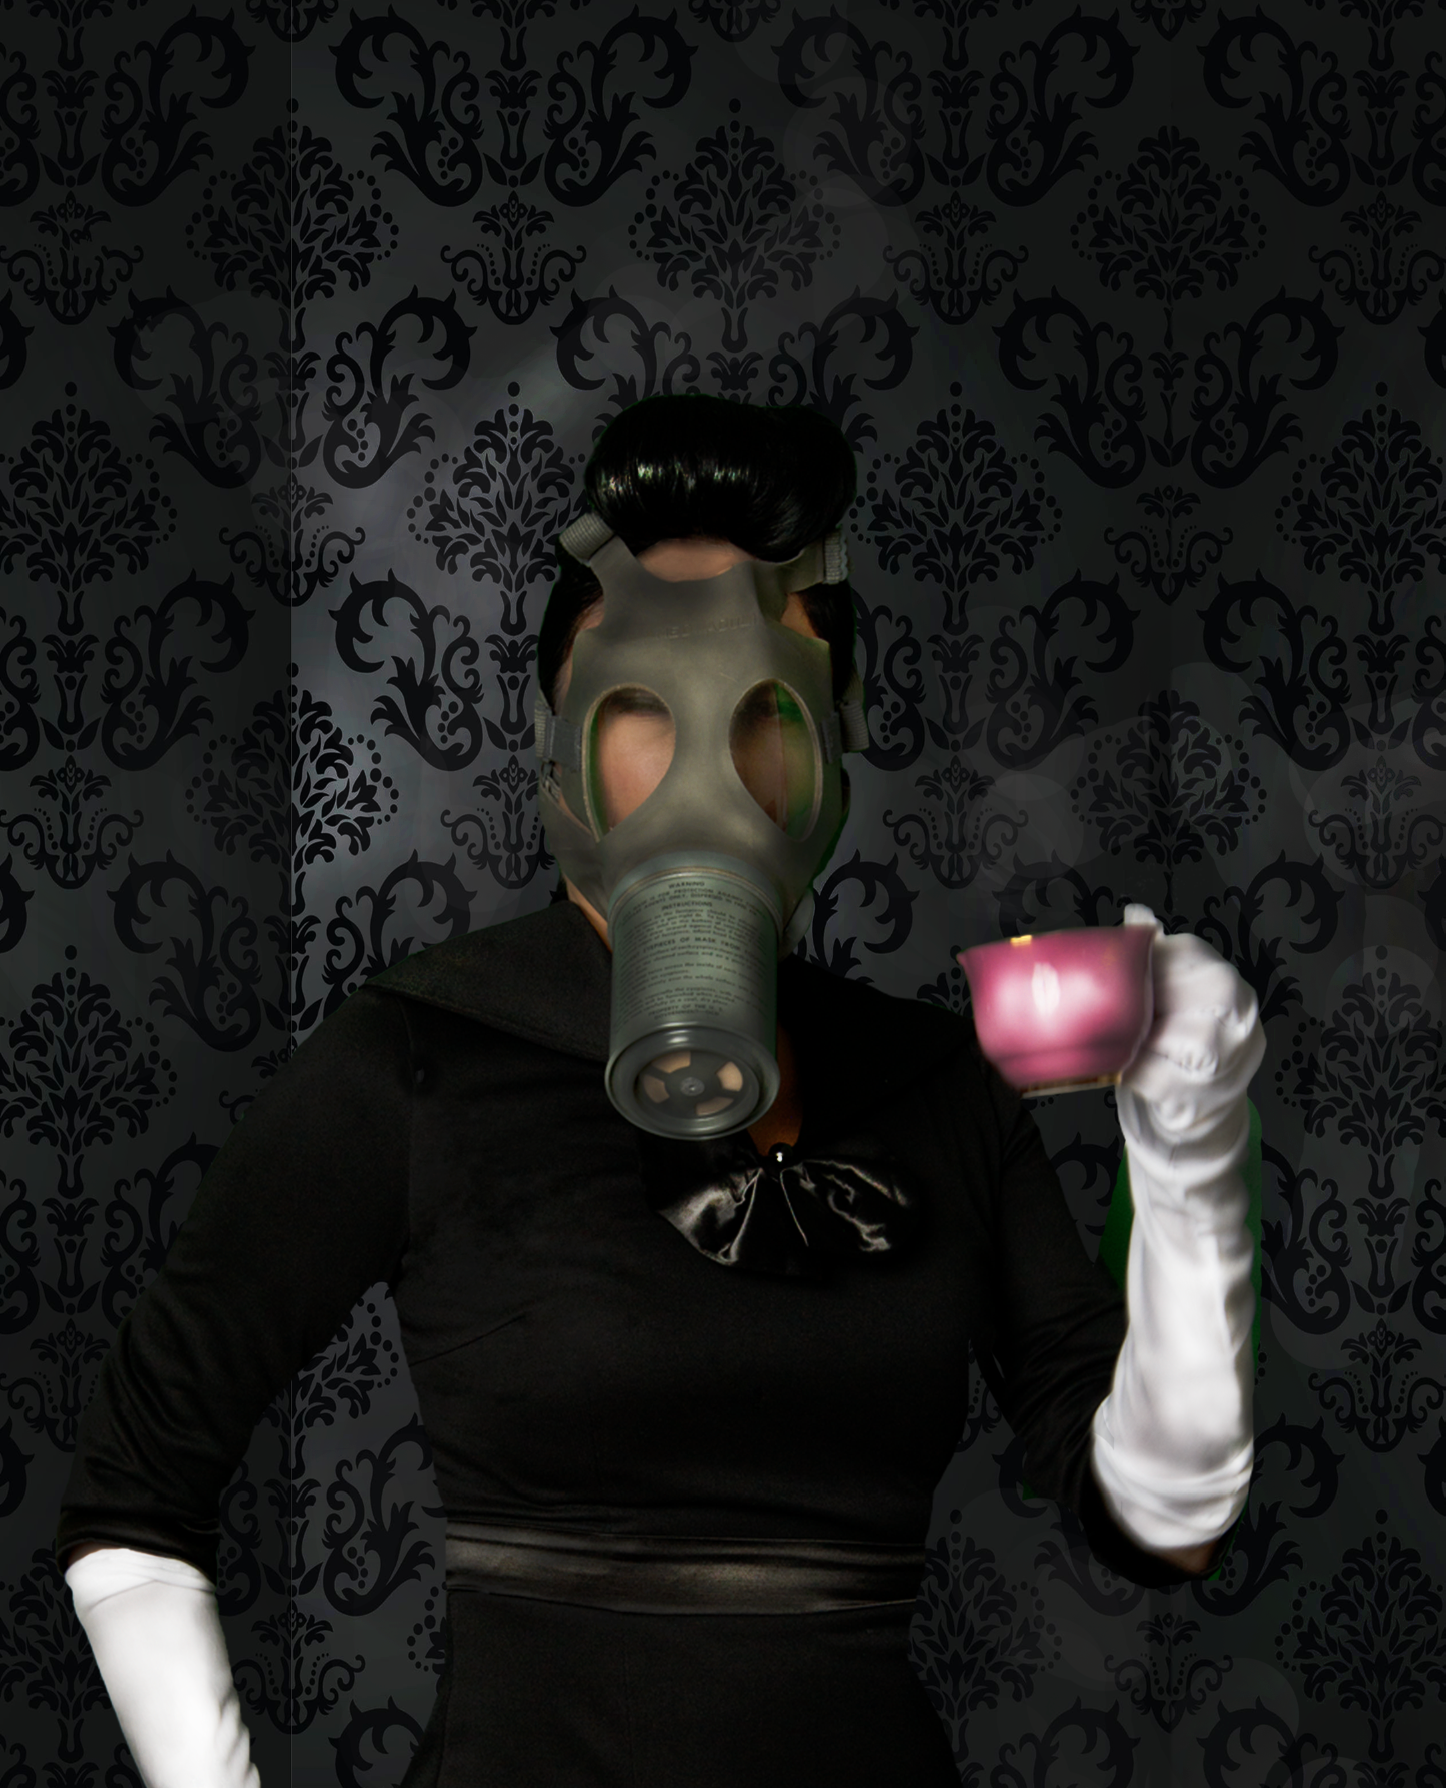
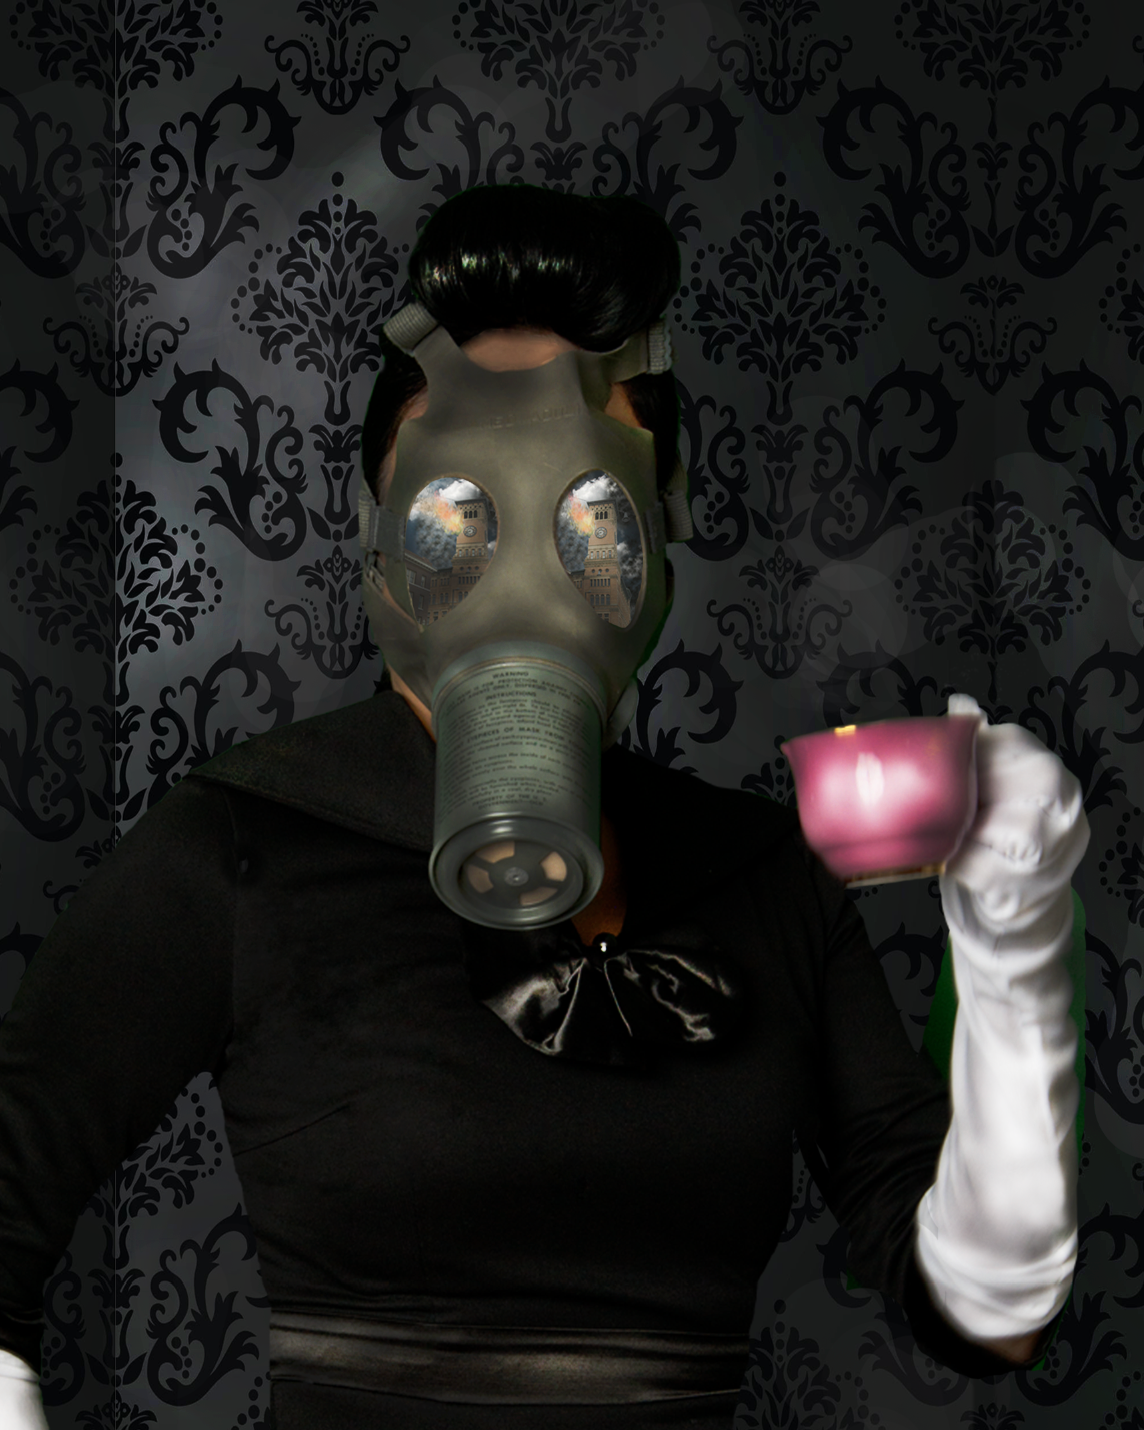
Image Restoration
The Process
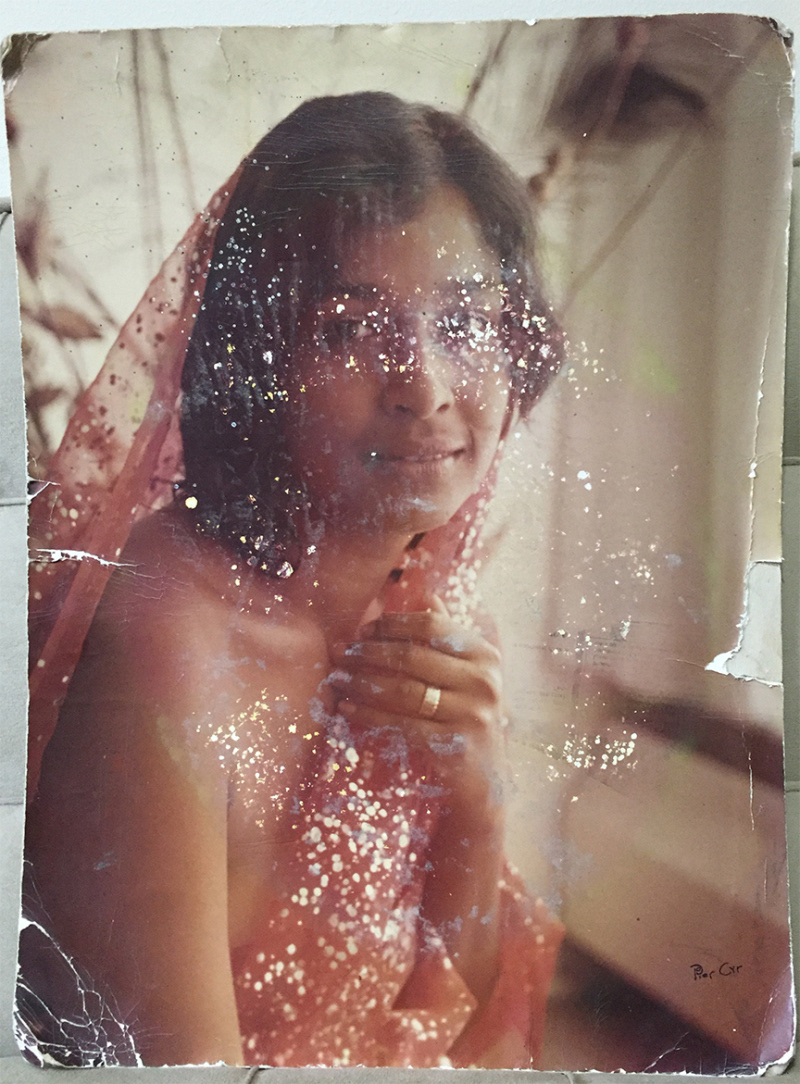
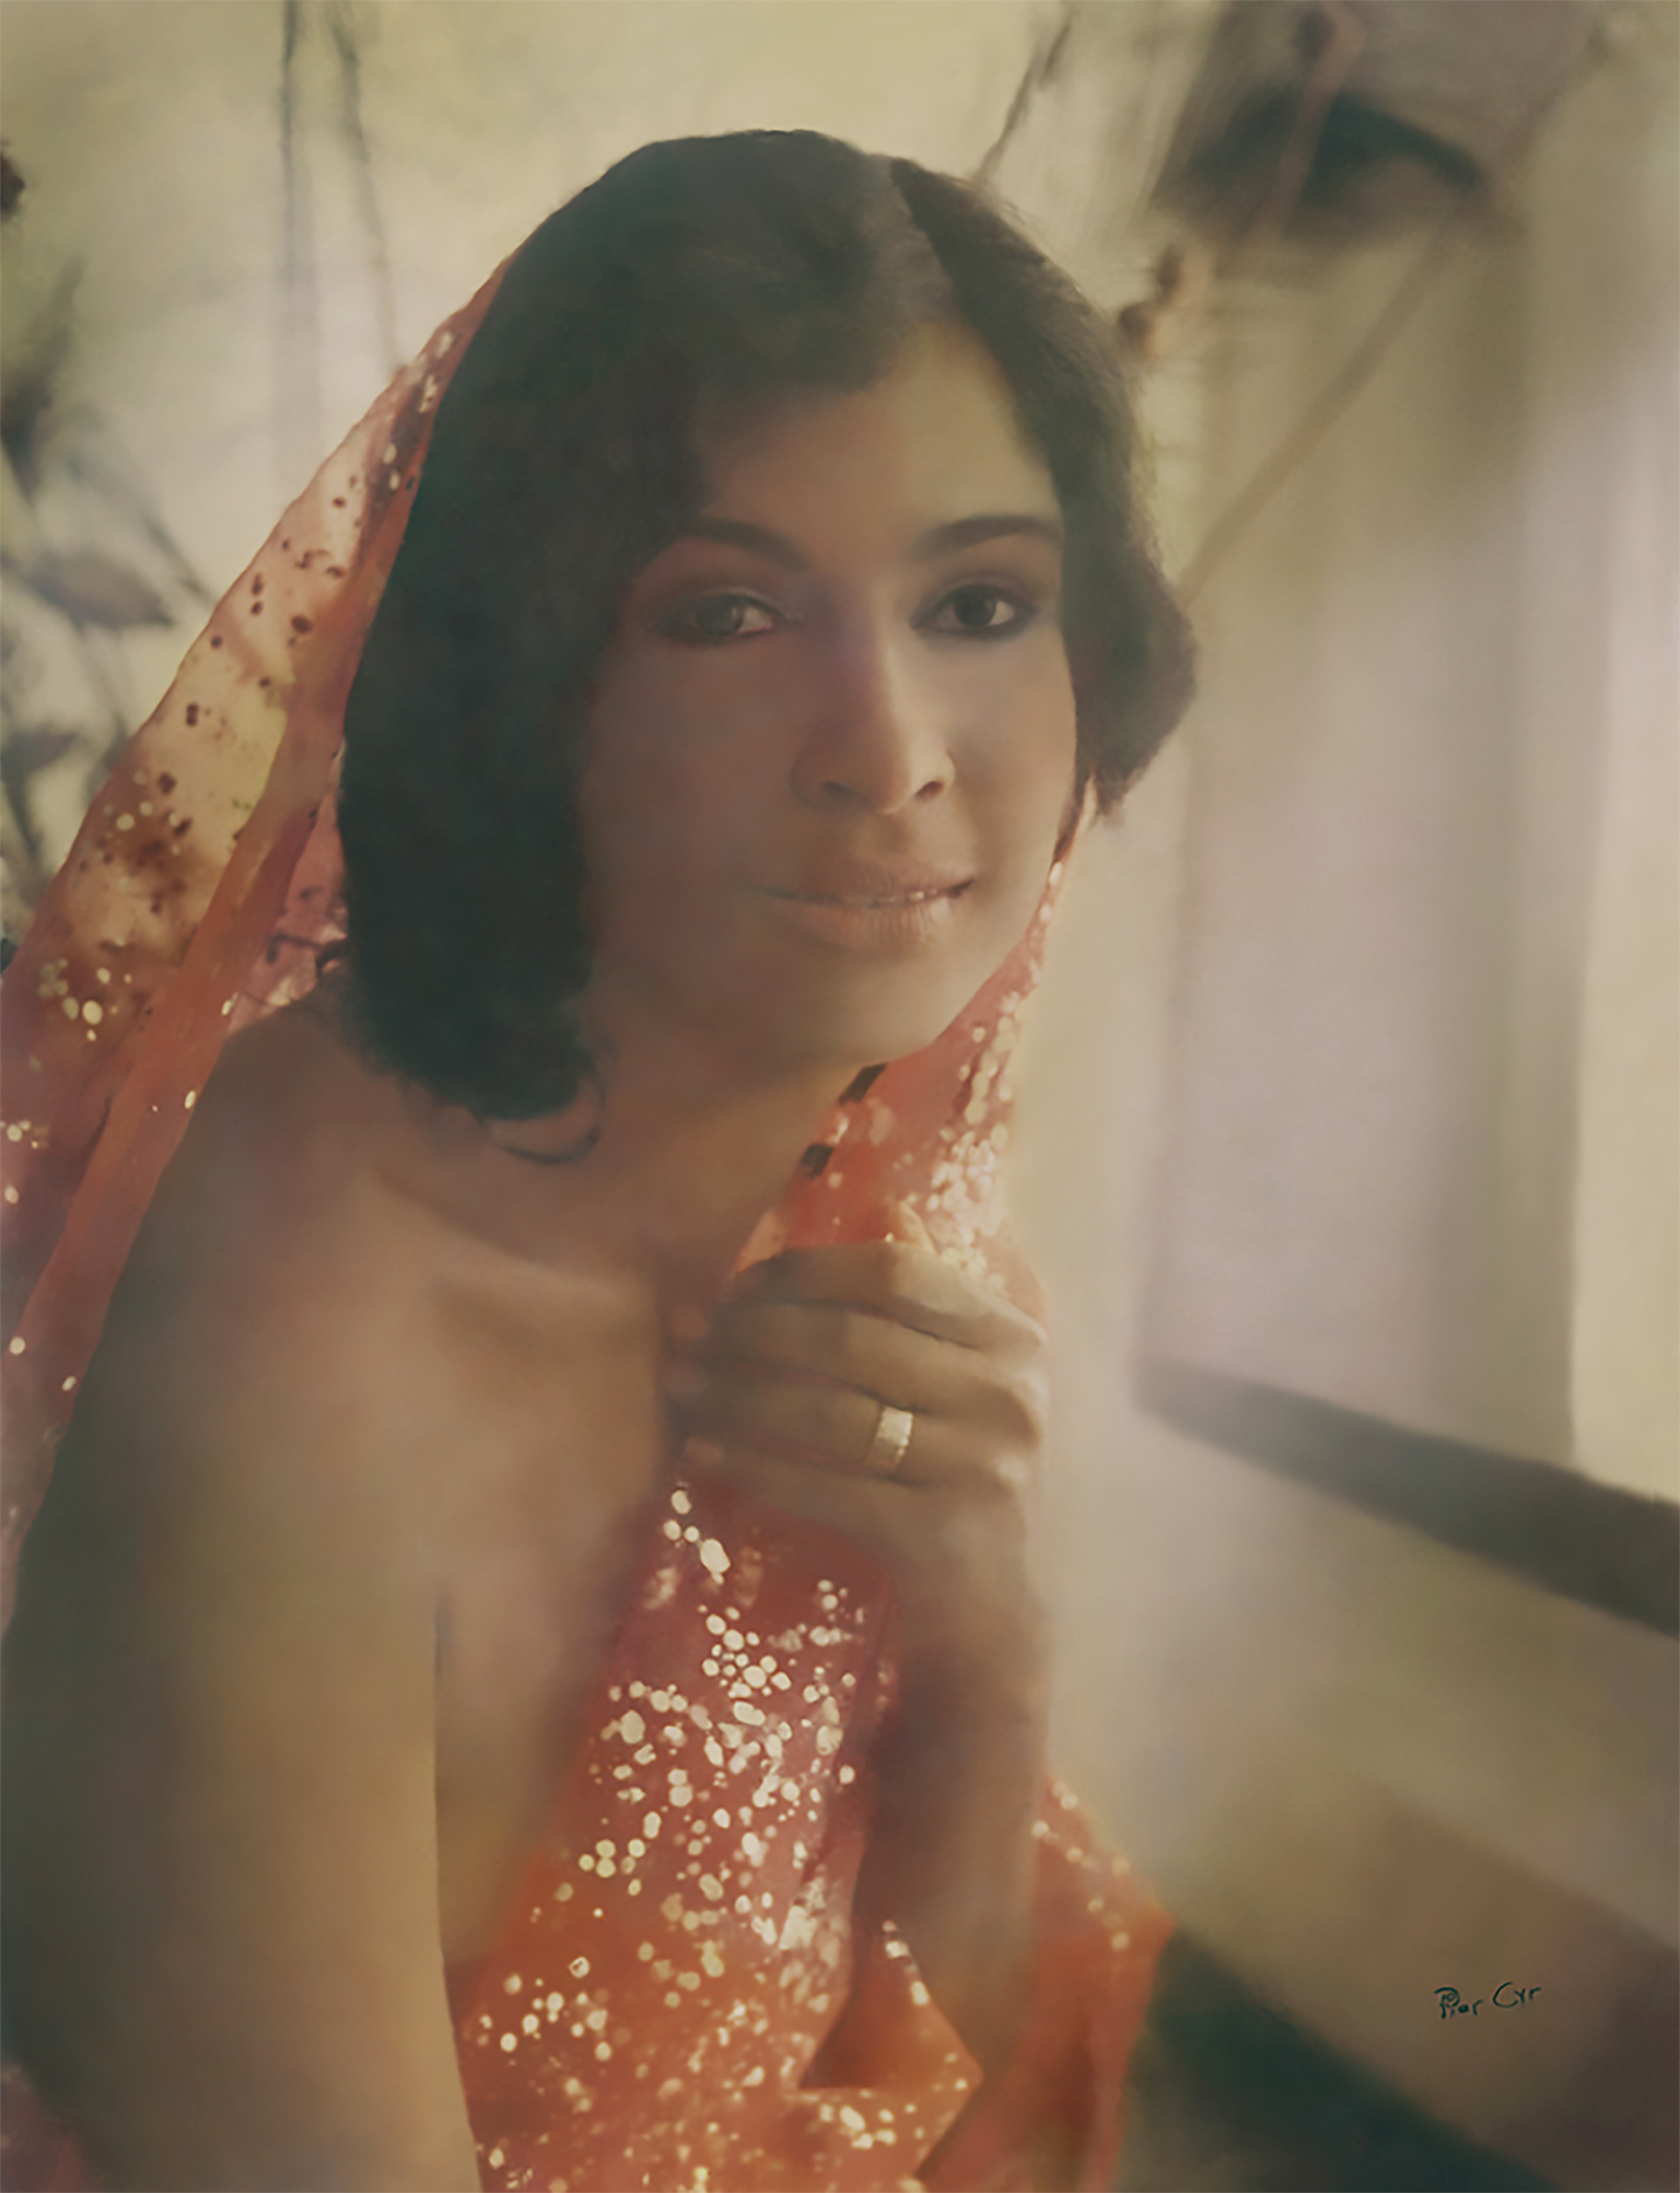
For this project, extensive repairs were needed for both the edges and the face of the image. The most challenging aspect was restoring the missing eye. The original photograph was a 16x20 print that had won first place in a photography contest in the 1960s. The client had traveled from Trinidad to Canada with the image wrapped in newspaper in her suitcase. Upon removing the newspaper, it became stuck to the front of the photo, tearing the face and damaging several areas. Unfortunately, this resulted in the loss of one eye. The image sat untouched for fifty years, waiting for restoration.
Using simple Photoshop techniques, I repaired the edges of the image with the healing tool, stamp tool, and patch tool. More advanced methods were necessary to restore the hair and the eye. I utilized alpha channels, masks, and calculations in Photoshop CC. Documenting my process in detail, I compiled it into a workbook as part of my independent study. To reconstruct the eye, I copied it using the lasso tool, created a new layer, flipped it, and adjusted the shape to match the other side. I then shaded and refined the details of the eye.
I saved the image with a slightly darker tone for printing as an enlargement for the client, pulling the red tones from the original image—a hue typical of photos from the 1960s. I opted to give this vintage image a modern touch by applying a more even tone. The client was thrilled with the final result, and fifty years later, she now has a beautiful portrait to commemorate a significant moment in her life.


